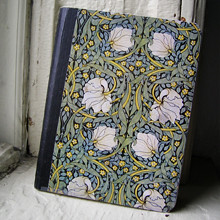
1. Really nothing to it, just glue some pretty paper to the cover of a composition notebook; I like the Staples recycled paper composition notebook mainly because it's college ruled. I butted the one edge of the paper up to that black binding and folded the other three edges over with about a quarter- or half-inch allowance. I used elmer's glue, brushed thinly and evenly all over the paper with a brush.
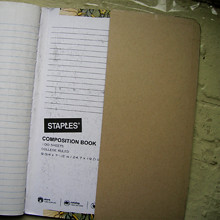
2. I used the cardstock I have left over from binding my screenplay (womp womp) to make inside pockets. Just cut to whatever size or shape you want, I used a corner punch to match the corners of the notebook. Then tape them on with scotch tape. Next time I'm going to tape the pockets on first, and then glue the paper over the taped edges.
3. A differently shaped back pocket.
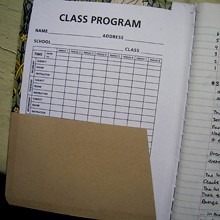
4. Which my planner slides into. Looove my planner, I wasted fifty bucks on bought planners before biting the bullet and making my own.
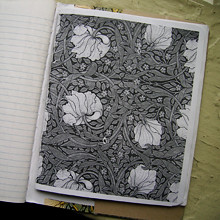
Here's what the insides look like:
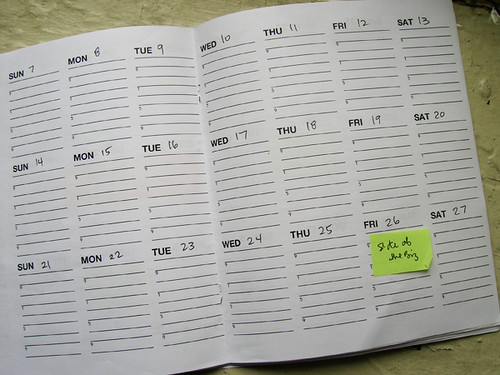
Full week, 7:00AM–11:00PM, three weeks at a time. Actually I use the 7:00 line for scheduling blog posts, and I have my little post-its stuck all through the pages. Designed and printed double-sided on legal-sized paper, the cardstock cover cannibalized from the bought planner and printed with the scanned paper pattern. Super proud of that. Folded not very perfectly and stapled, mein wifey works in a bindery and might show me how to do this better next time; but this works for now. If you don't have a stapler that reaches to the middle of your paper, just flip your stapler open and staple into a corkboard; then fold the staples down by hand.
I might say more about planning and planners later. Maybe. It's personal.