Here's the first half of the screenprinting process, making your screen. This is a medium-tech method that I learned from shoalmate Shannanigan, more reusable than hemoglobin hummingbird's paper stencil method and not as intimidating as the photo emulsion method. That is, the design is more reusable. With the paper stencil method, you can reuse your blank screen forever with different designs. Which maybe is what you want, when do you ever want even three of the same t-shirt? See now, that's why I think screens are best for printing your name and number on the back of practice shirts. But anyway, let's say you have:
- your design on a piece of paper
- an 8x10 screen
- a pencil
- a spoon or other stirring implement
- screen filler
- a small paintbrush
And that's all! If you are careful enough with the screen filler, you don't have to bother with drawing fluid.
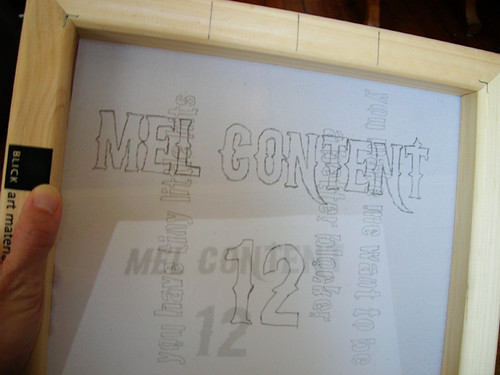
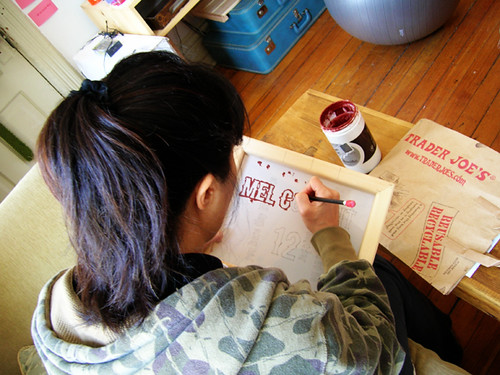
First tape your design to your work surface so it doesn't move, put the screen over the design, and trace the design on the screen with a pencil.
See, I was going to use this screen to make my Better Blocker and Tiny Hits t-shirts. But I decided to use Zazzle instead for those.
Thoroughly stir the screen filler.
This is the picky part: you want to carefully outline the whole design with the tip of the pencil dipped in screen filler. Remember that the parts that are not filled in with screen filler are what gets printed. Use the pencil tip fill in any small areas, too, like inside and between the letters here.
The little blobs across the top of the screen are where I was wiping off the tip of my pencil now and again. I should have wiped on a paper towel. Also I should not have tried to sand them off with sandpaper.
After that, you just fill in the rest of the screen using a paintbrush. It will need several coats. Let it dry between coats, and hold it up to the light to see if there are any holes. Ink will get through any tiny pinprick that light shines through, so keep painting until it's solid. Oh and, you might want to raise up your screen on little feet to keep it from sticking to your work surface when you're painting and while it dries; pushpins or little gummy erasers are good.
If you make a mistake, screen filler can be scrubbed off with Mr. Clean and a brush. I scrubbed out my fully painted Poppy Spock screen twice, once to change my name (long story) and once to add my number. Let me tell you though, it took some doing and that was using the sonic scrubber I clean my bathroom with. It took forever. But I am patient.
See my earlier post for the second half of the screenprinting process, printing your shirts.