Reprinted by request from May 20, 2009. I used to be the world's biggest fan of skating in a dress, but then there was the Great Pants Shift and besides that my t-shirt surgeries have been showing more and more skin. But, a simple A-line dress is a good place to start.
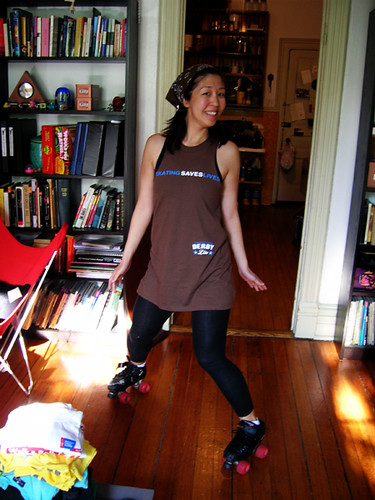
omg lol look how skinny my legs are
First, measure yourself. I don't know if measuring goes against some punk principle of t-shirt surgery. But know thyself, that's the kind of punk I am:
1. Measure yourself across from armpit to armpit. Your dress can be narrower than this up top, but not wider because this is where it will hit your shoulder. If it goes past your shoulder, it won't look like a good fit.
2. Measure yourself down from your shoulder to your underarm or bust. Your armhole is going to hit between these two points. If it's higher, your arm won't go through too well! If it's lower, your boob will show (though that's a choice, too.)
3. Measure yourself around the bust. Your dress can be wider than this here, but not narrower because your boobs will be squished.
A note on boobs: I am flat as a board, so the following pattern works fine for me. You know how Eskimos have like eighty words for snow? I have, like, no words for darts.
Next, measure and mark the shirt. This is an XL t-shirt, by the way. I'm totally recutting the top to fit, and leaving it long and roomy at the bottom. Oh and, I'm using my 6" x 24" Omnigrid quilter's ruler to measure and this white watercolor pencil to mark with. The roadside of my life is littered with failed hobbies, and the tools I bought for them. But did you know that Doris Day of the Dead's mom is a pretty famous quilter? I have her book, but anyway—
First, turn the shirt inside-out and smooth it out as flat as you can:
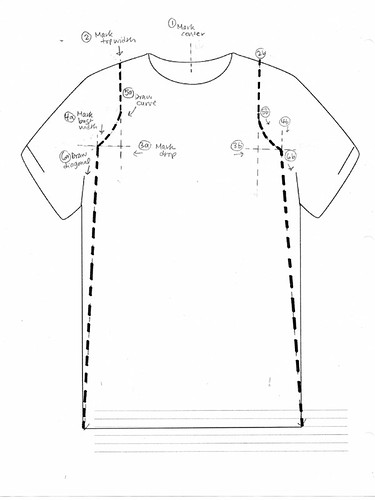
1. Find the center of the shirt. I measure from edge to edge on the neckband, locate the halfway point on my ruler, and mark with a little vertical line on the neckband.
2. Measure and mark your desired width across the shoulders. I measured six inches out from center on both sides, or twelve inches across for this dress.
3. Measure and mark your desired drop from shoulder to underarm. Mine is eight inches.
4. Measure and mark your desired width across the bust. My bust measurement is 30 inches, I divided that in half & measured out 7-1/2 inches from center and then added about a half-inch seam allowance on both sides.
5. Draw a curve between the two widths. You can eyeball this, or you can use a curved ruler. I've had this ruler similar to this Fairgate Fashion Form Hip French Curve 3-in-1 Rule all along, almost never used for fifteen years. It works great, who knew?
6. Draw a diagonal line from the armhole to the shirt hem. I go all the way to the edge of the shirt, because I need room for my butt.
Now, cut around the armholes and down the sides of the shirt. I cut the front and back together, so they're the same for this dress.
Finally, sew the sides up to the armholes. Leave the rest of the shirt unfinished. Actually I liked how the neckband looked, so I left it on & I left the hem, too.